

Vinyl flooring is well established, having been in existence for many years. Simple, durable & easy to clean. As with any household item, it eventually demonstrates its age.
It could be that the fashion appears outdated, water damage has caused some distortion, or you’re eager to try a new look. Regardless of the motive, you’ll have to hoist it up at some stage.
Before we dive into the truth, let us remind you that any vinyl flooring installed before 1980 could potentially contain asbestos. What should you be aware of?
If that’s the case, seek professional assistance instead of trying to do it yourself. A patient who can do it himself will be able to remove vinyl flooring for newer floors.
Table of Contents
Tools and Materials You’ll Need
It’s important to gather the appropriate tools before cutting and prying. This is a straightforward checklist to keep things in order:
- Tools: Utility knife, scraper, pry bar, 5-in-1 tool, putty knife and heat gun plus some adhesive remover.
- Safety gear: sturdy gloves, safety goggles, a respirator (for dust and fumes), and kneepads. You probably won’t like them later.
- Waste control: with the help of strong trash containers and bins. If you don’t mind navigating the landfill, some recycling centers will take old vinyl.
It’s akin to cooking, with the intention of starting only after you have all your ingredients prepared on the counter.
How to Remove Vinyl Flooring?
Step 1: Get the Room Ready
 To remove vinyl flooring, first, clear everything out. Furniture, rugs, even little knick-knacks, it all has to go. Once the space is open, figure out what you’re going to do with the old flooring.
Will you bag it up, haul it to the curb, or drop it at a recycling center? Knowing that in advance makes life easier.
Ventilation matters, too. Crack open windows or set up a fan, especially if you’ll be using adhesive remover or a heat gun. A little prep here saves headaches later, literally.
Step 2: Remove Trim and Baseboards
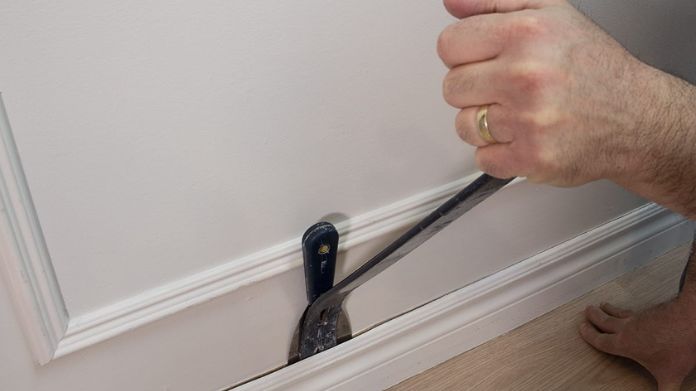 Now examine the boundaries of your floor. Before you can begin working, you must first remove the trim and baseboards.
Slip a pry bar behind each piece and carefully pull it away from the wall. Don’t rush, this is where people often gouge drywall.
Here’s a trick: Label the pieces as you remove them. A little tape and marker can save you hours of head-scratching when it’s time to reinstall.
Step 3: Cut the Vinyl Into Strips
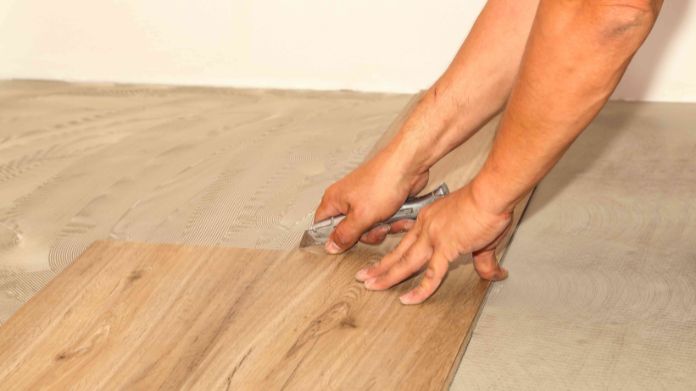 To remove vinyl flooring, this is where things start to feel productive. Take a sharp utility knife and slice the vinyl into strips about 12–18 inches wide. Work slowly and carefully, those blades are sharp.
Once you cut a strip, roll it up as you go. It keeps the floor clear and makes disposal easier. Think of it like rolling up an old rug, just in smaller, more manageable pieces.
Step 4: Pull Up the Flooring
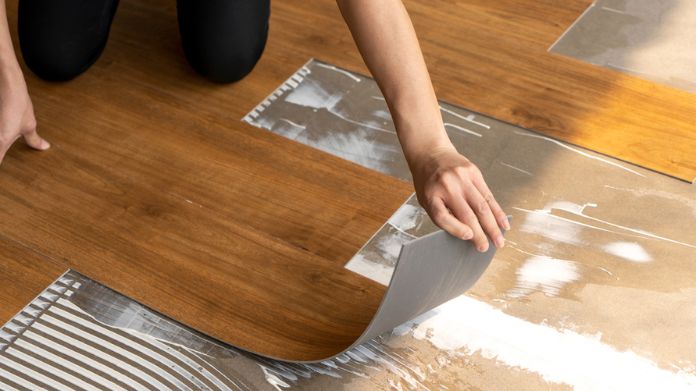 How you do this depends on what type of vinyl you have:
- Sheet vinyl: Start at an edge and peel it back. Once you get a section free, roll it as you go.
- Vinyl planks or tiles: A putty knife or scraper will most likely work to pop them up individually.
If you are dealing with wood, be careful not to scratch or gouge. Concrete subfloors are more difficult but will be finicky about adhesive.
Step 5: Tackle Adhesive and Underlayment
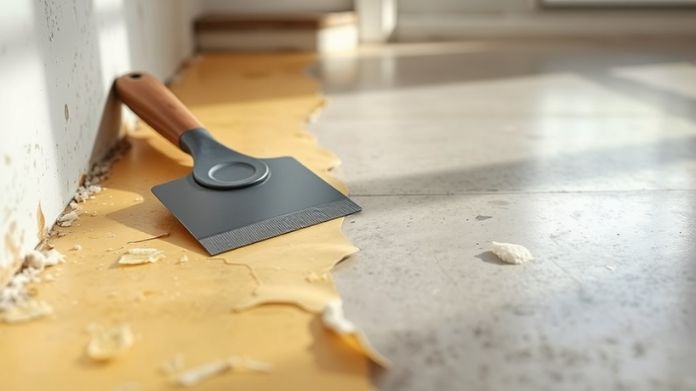 In the process of remove vinyl flooring, here’s the part most people don’t enjoy: the glue. Some floors peel right up; others fight you every inch of the way.
- Try a scraper first.
- If all that is still not enough, heat up the adhesive with a heat gun to make it soft.
- Stubborn areas might require a spot of adhesive remover or even just hot, soapy water.
If your underlayment is severely damaged or glued too strongly, you might have to rip that up, too. Just watch out for wood subfloors, though; too much water there can cause warping or mold.
Step 6: Clean and Inspect the Subfloor
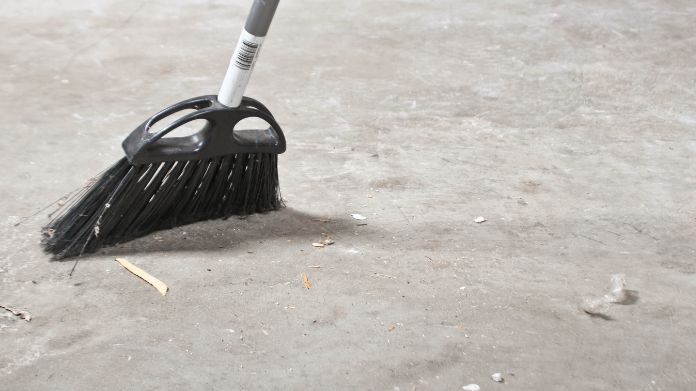 This is the water-board of your floor: look on her now. Sweep or vacuum everything you can. Now really look at it: cracks? Damp bits? Uneven places?
Fixing these things now will help your new flooring last longer. A leveling compound or wood filler usually does the trick for small issues.
Pro Tips From the DIY Trenches
- Heat is your friend when dealing with stubborn glue.
- Work in small chunks instead of trying to tackle the whole floor at once it’s less overwhelming.
- If the house is older and you suspect asbestos, don’t take risks. Call a professional.
- Stay organized. Keeping your trim and tools sorted will save you a ton of frustration during cleanup and reinstallation.
Wrapping Words
Vinyl floor removal may not be the most glamorous home project, but it will definitely pay off. A calm spirit, some free time, some tools, and a handful of good tricks should help you do it with little stress.
Take safety seriously, especially when it comes to dealing with older floors, and never run the process. Once you’ve got your clean subfloor, the fun part begins-picking out and putting in your very own flooring.