

In the age of touchscreens, a screen protector is more than just an accessory; it’s a guardian of our device’s most vulnerable part. But like all guardians, they also need replacing or removal.
Whether it’s due to wear, damage, or simply the desire for a fresh start, understanding how to remove a screen protector is a skill every device owner should possess.
This guide delves deep into the nuances of safely and efficiently removing that protective shield, ensuring your device remains pristine. And you can also follow this guide for smartwatch screen protectors.
So, if you’ve ever pondered how to remove a screen protector without fuss or damage, you’re in the right place.
Let’s embark on this journey together.
Table of Contents
Why Remove a Screen Protector?
 When you apply a screen protector to your device, it gleams with perfection, promising to shield your screen from the world’s harm. But like all things, it doesn’t remain pristine forever.
In addition to removing screen protectors, we’ve also covered the topic of controller stick drift repair for gamers; for that, follow us and read our article.
So, why might someone learn how to remove a screen protector?
1. Wear and Tear
Over time, even the best screen protectors can accumulate scratches, dings, or discoloration. When this happens, the clarity and responsiveness of your screen might diminish.
Knowing how to remove a screen protector allows you to replace it, ensuring your device always has a clear view.
2. Air Bubbles and Dust
Despite our best efforts, air bubbles sometimes appear beneath the protector, or dust gets trapped. These pesky issues can obstruct your view and become quite distracting.
If you know how to remove a screen protector properly, you can address these issues and reapply a new one flawlessly.
3. Upgrading to a Better Protector
As technology evolves, so do screen protectors. You might discover a new protector with better features, like anti-blue light technology or enhanced touch sensitivity.
To upgrade, you’ll first need to know how to remove a screen protector from your current device.
4. Reselling or Gifting the Device
If you’re planning to sell or gift your device, removing the old screen protector can make the device look fresher and more appealing to the following user. Plus, it lets them decide what kind of protector they’d like to apply.
5. Protector Damage
Accidents happen. If your protector cracks or shatters, it’s essential to know how to remove a screen protector safely to prevent further damage to the device or injury to yourself.
Types of Screen Protectors
Before you dive into how to remove a screen protector, it’s essential to understand the different types available in the market.
Let’s break them down:
1. Tempered Glass Protectors
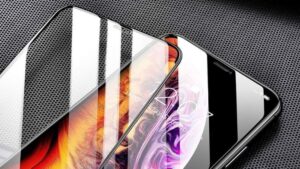 These are the heavy-duty champions of screen protection.
They are made from processed glass and offer a feel similar to the original screen. They’re known for their resistance to scratches and high-impact drops.
However, if you ever need to switch it out, learning to remove a screen protector made of tempered glass can be crucial to prevent shattering.
2. PET (Polyethylene Terephthalate) Protectors
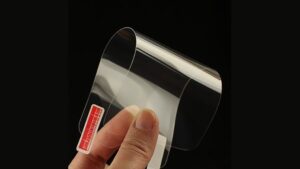 Lightweight and thin, PET protectors provide a decent shield against scratches. They’re also more flexible, making them easier to apply without bubbles.
When it’s time for a change, understanding how to remove a screen protector of this type can ensure a residue-free experience.
3. TPU (Thermoplastic Polyurethane) Protectors
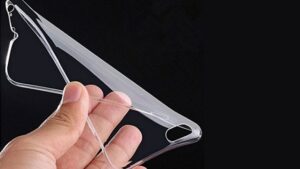 These flexible, rubbery protectors require a wet installation. They offer better protection against impacts compared to PET protectors.
Given their unique installation method, knowing how to remove a screen protector made of TPU can be a tad different.
4. Nano Liquid Protectors
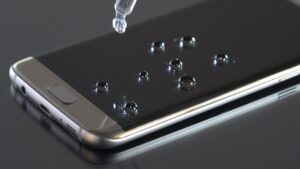 The newest kid on the block, these protectors are applied as a liquid, which then hardens to form a protective layer.
While they’re almost invisible and don’t affect touch sensitivity
If you ever switch back to traditional protectors, removing a screen protector of the liquid variety will be a different ball game.
Tools and Materials Needed
These will ensure a smooth, efficient, and safe removal process. Let’s delve into what you’ll need:
- Hairdryer: A surprising tool in the mix, but a hairdryer can be instrumental. On a low heat setting, it helps soften the adhesive, making removing a screen protector much more manageable.
- Credit Card or Plastic Pry Tool: These thin, flat tools are perfect for gently lifting the edges of the screen protector without scratching or damaging the screen.
- Toothpick: For those stubborn screen protectors that sit flush with the device, a toothpick can help initiate the lifting process by targeting the corners.
- Duct Tape or Sticky Tape: If you’re dealing with a cracked or shattered protector, a piece of tape can help lift the protector and prevent tiny shards from scattering.
- Microfiber Cloth: After successfully navigating to remove a screen protector, you’ll want to clean your screen gently. A perfect microfiber cloth ensures no streaks or residues are left behind.
- Cleaning Solution or Alcohol Wipes: For those stubborn adhesive residues, a mild cleaning solution or alcohol wipe can help clean the screen without causing damage.
How to Remove a Screen Protector?
Whether you’re dealing with an intact protector or one that’s seen better days, this guide will walk you through each step with precision and care.
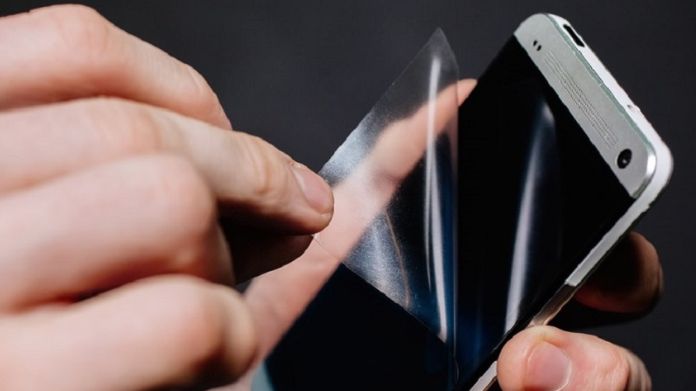
For Intact Protectors
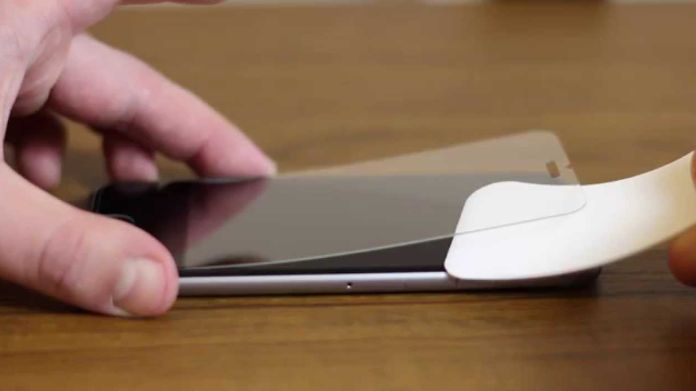
- Begin by placing your device on a flat, clean surface. It ensures stability and reduces the risk of any accidental slips or drops.
- Using a hairdryer on a low setting, gently heat the screen protector for about 10-15 seconds. This softens the adhesive, paving the way for a smoother removal.
- With a toothpick, target a corner of the screen protector. Gently lift it, creating a small gap. This is your starting point.
- Insert a credit card or plastic pry tool into the gap. Slowly slide it beneath the protector, working your way around the edges. As you progress, the protector will lift off seamlessly.
- After successfully understanding how to remove an intact screen protector, wipe down your screen with a microfiber cloth. This ensures it’s free from any residual adhesive or fingerprints.
For Cracked Protectors
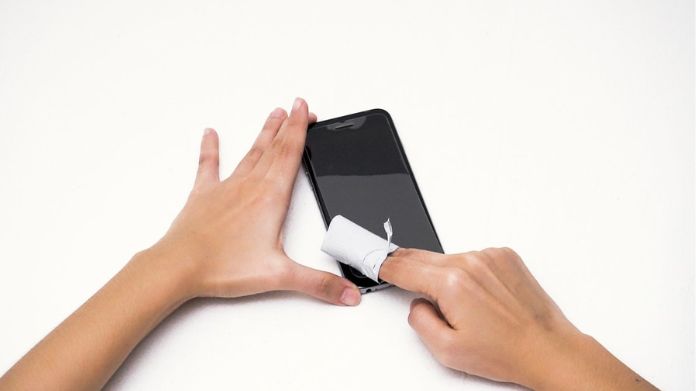
- If your screen protector is cracked, consider wearing rubber gloves. This will protect your fingers from potential shards.
- Place a piece of duct tape or sticky tape over the cracked areas. This holds the shattered pieces together and provides an easier grip for removal.
- Just as with an intact protector, start at a corner. The tape will help you lift the cracked protector with ease.
- Being gentle is crucial when figuring out how to remove a cracked screen protector. Slowly peel it off, ensuring you’re not applying too much force, which could risk further breakage.
- Once removed, thoroughly clean your screen with a microfiber cloth and a mild cleaning solution or alcohol wipe. This step ensures your screen is pristine and ready for its next protector.
What if the Phone Screen is Also Broken?
Imagine you’re figuring out how to remove a screen protector, only to discover that beneath it lies a broken phone screen. It’s a heart-sinking moment, but it’s essential not to panic.
When the screen protector and the phone screen are damaged, the removal process requires extra caution. First and foremost, consider wearing rubber gloves to protect your fingers from any sharp edges or glass shards.
Gently heat the protector to soften the adhesive, but be mindful not to apply too much heat, as this could exacerbate the damage to the underlying screen. Use slow, deliberate motions to prevent further cracking or breakage when lifting the protector.
Once the protector is off, resist the urge to address the broken screen immediately. It’s often best to consult with a professional or visit a service center to assess the damage and determine the best action.
Remember, while knowing how to remove a screen protector is valuable, ensuring the safety and longevity of your device is paramount.
Tips for Applying a New Screen Protector
After learning how to remove a screen protector, applying a new one correctly is vital, here’s a condensed guide:
- Wipe your screen thoroughly using a microfiber cloth to avoid bubbles or imperfections.
- A well-lit, dust-free environment ensures a smoother application.
- Different protectors have unique application methods, so always read the provided guidelines.
- Ensure the protector matches the screen’s edges and camera cut-outs.
- Gently push any bubbles towards the protector’s edge using a flat tool.
- After application, allow some time for the protector to adhere correctly.
Conclusion
Mastering how to remove a screen protector safely and efficiently is an indispensable skill for any tech-savvy individual. Whether dealing with wear and tear, upgrading, or preparing your device for resale, the process requires patience, the right tools, and a gentle touch.
Remember, while knowing how to remove a screen protector is essential, it’s equally crucial to do it carefully and precisely.
Happy Tech Maintenance!